
Reading
-
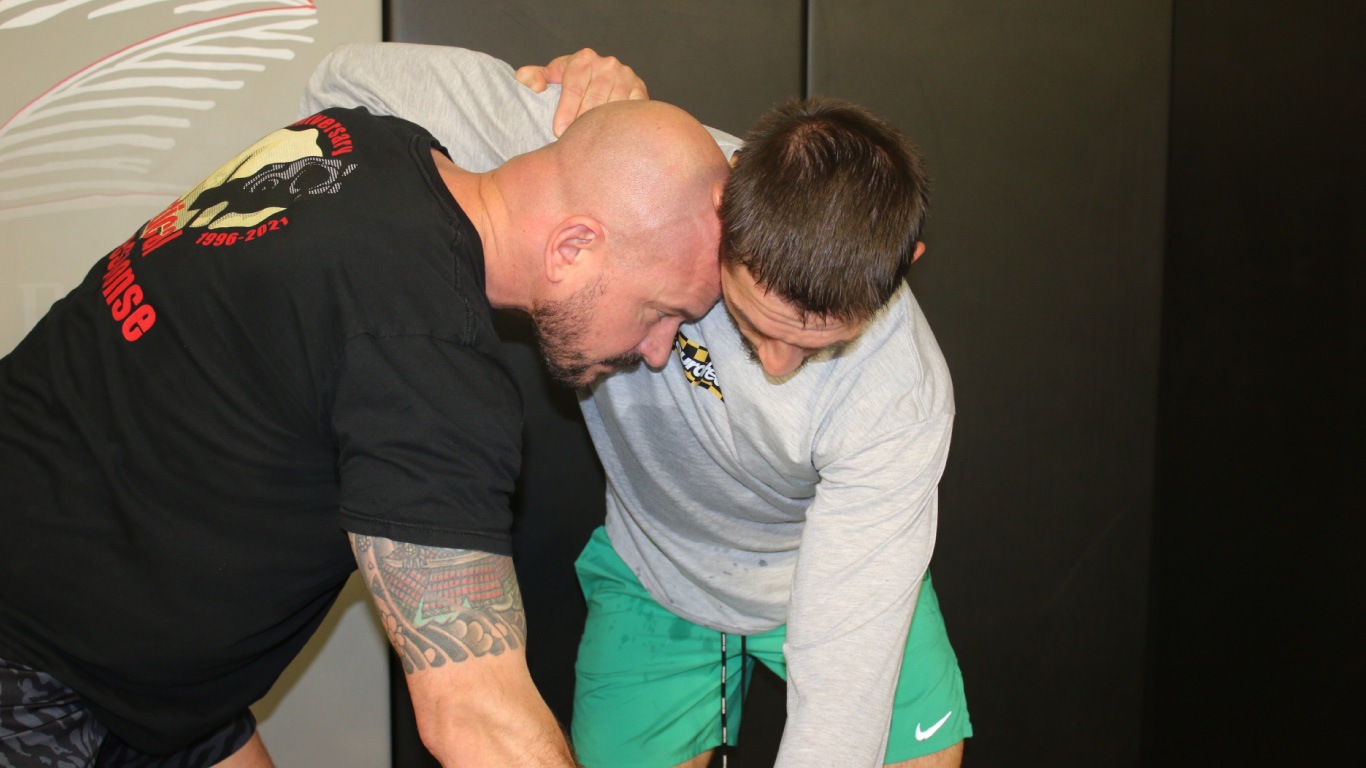
AAR: Two Years of Coaching a Self-Defense Class
Link to this concept chart: https://drive.google.com/file/d/1DCSsjUAUT8qM-phPEzrgpbXHYykpwdtr/view?usp=sharing In October 2023 I got the chance to take over as the primary self-defense instructor at my BJJ academy. Before I showed up, the self-defense classes were a weird amalgam of the cheesiest parts of Krav Maga, some Filipino knife dueling, a little wrestling, and a whole lot of…
-

Glock 43x: My New Clown Car Gun
A couple of weeks ago I made my mind up that I was going to retire my Sig p365XL and jump over to a Glock 43x. This week all of my accessories arrived and I ran to the range to test fire, zero the dot, and do some drills. Why switch away from the Sig?…
-

AAR: Close Quarter Handgun – Chuck Haggard
Day two of Haggard’s visit to The Complete Combatant in N. Georgia was for Close Quarter Handgun. This class addressed some of the often neglected problems of close range shooting with Haggard’s proven methods. The class was a very approachable, easy to digest, well contextualized, and less intimidating treatment of similar topics to Shivworks’ ECQC.…
-
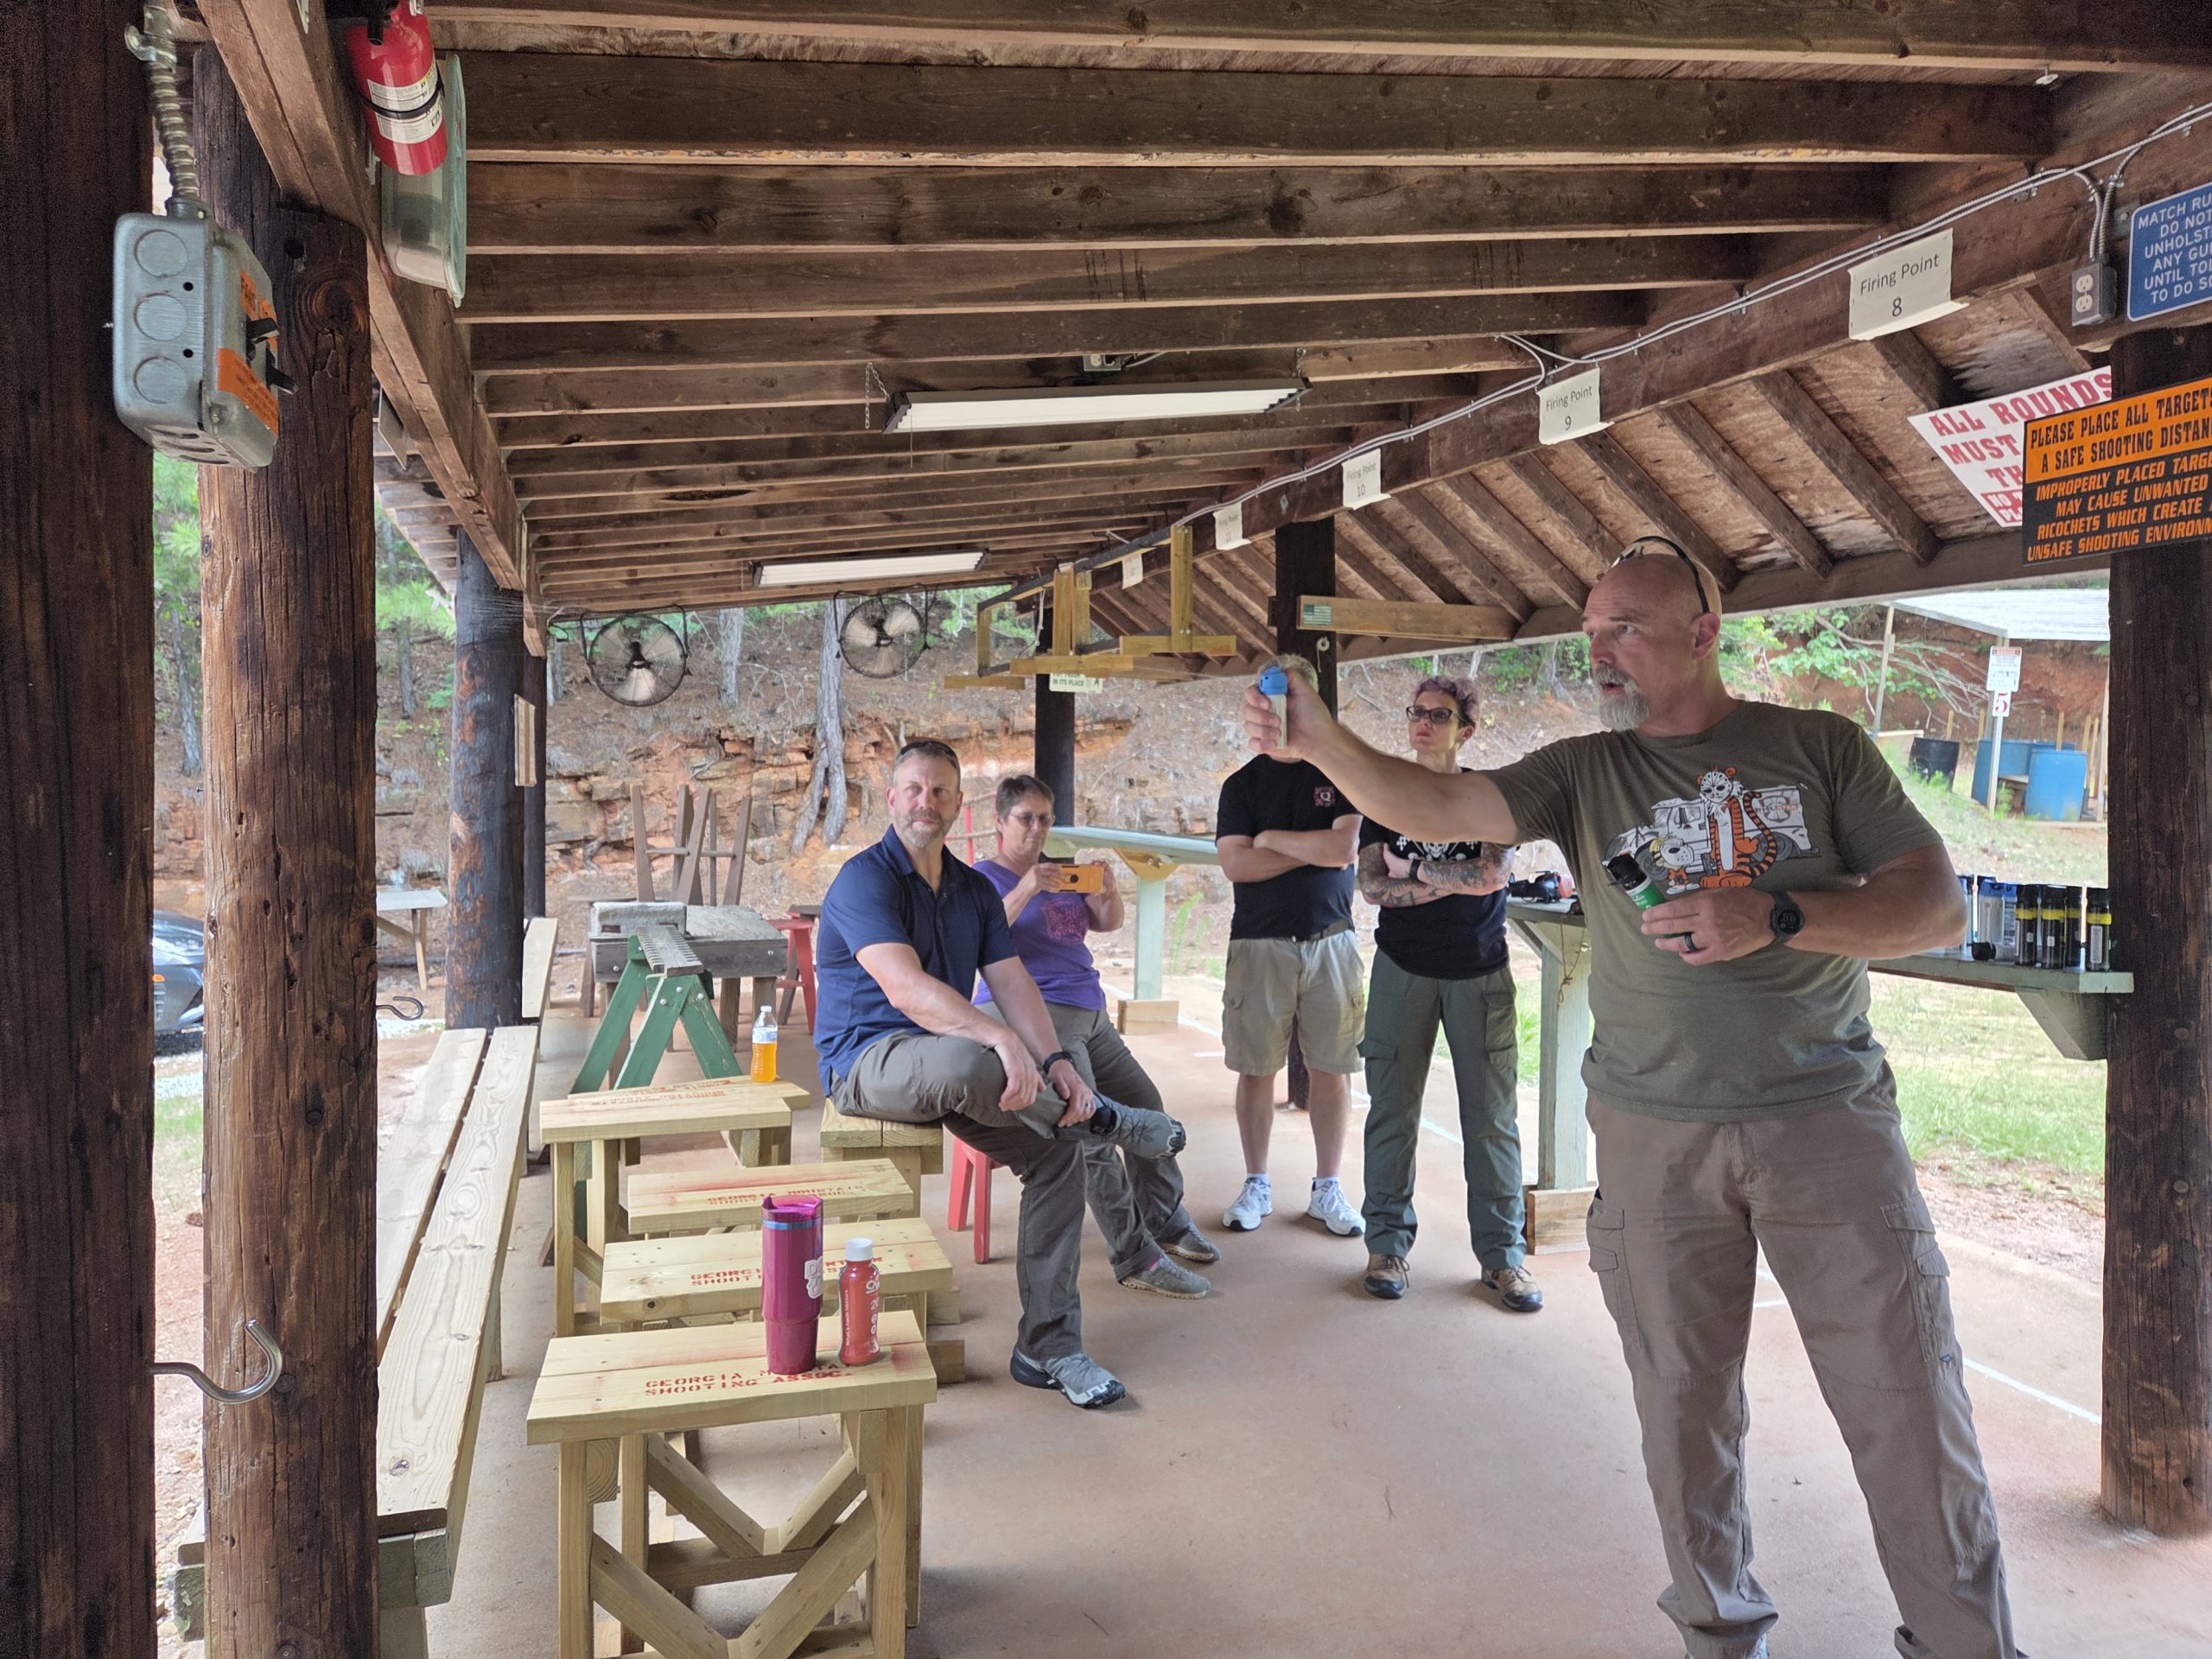
AAR: OC (Pepper Spray) Advanced Applications Course – Chuck Haggard
This is a new offering from Chuck Haggard of Agile/Training and Consulting. It was hosted at The Complete Combatant in North Georgia. He told us that he had many requests from students for live OC exposure, so he created a course with more practical exercises and the option for a live exposure to compliment his…